Overview
Once your school profile and courses are configured, it's time to bring people in. NimbusLearn supports two approaches to adding users: creating accounts one at a time (best for small numbers or late additions) and bulk importing via CSV file (ideal for the start of a term when you need to onboard hundreds of users at once).
This guide covers both methods, along with role assignment and ongoing account management.
User Roles
NimbusLearn has three built-in roles:
- Student — Can view course content, submit assignments, take quizzes and exams, and view their own grades and attendance.
- Instructor — Can manage course sections, create assignments and assessments, grade student work, take attendance, post announcements, and communicate with students.
- Admin — Full access to all system settings, user management, reports, imports, promotion, and school-wide configuration. Use sparingly.
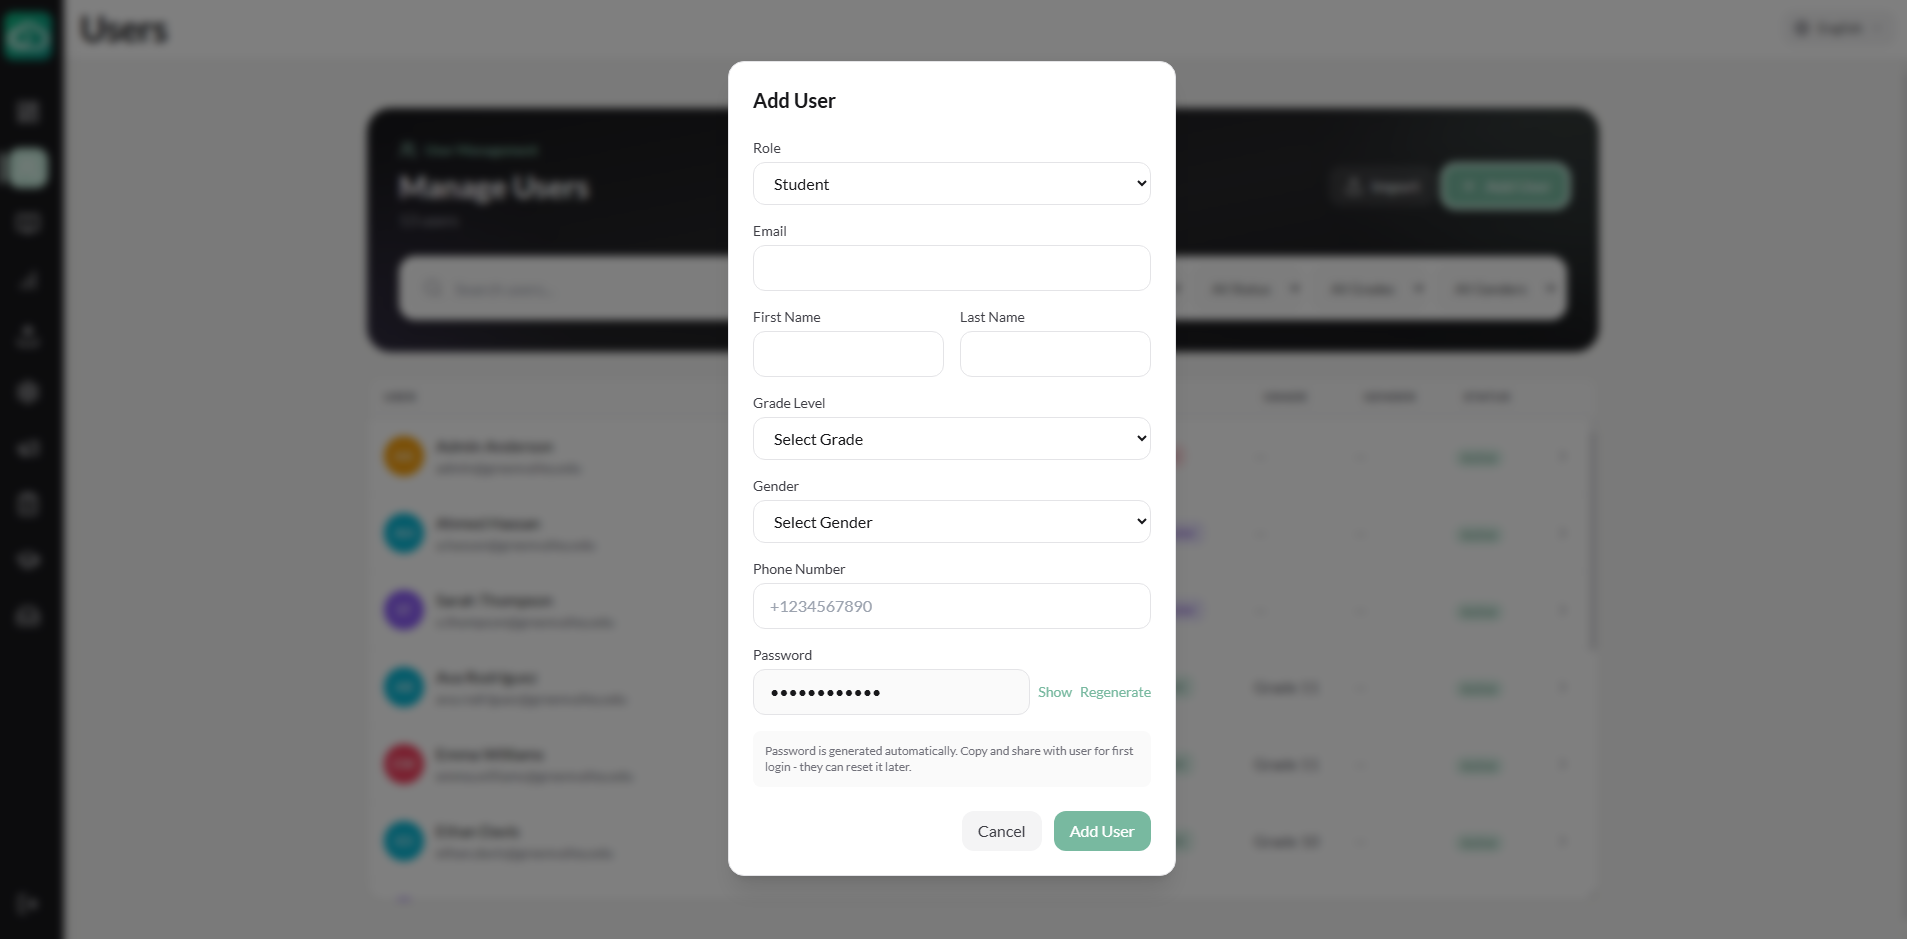
Adding Individual Users
For adding a handful of users — a new transfer student, a substitute instructor, or additional staff — the manual method is quickest.
- From the Admin Dashboard, navigate to Users in the sidebar.
- Click + Add User.
- Fill in the required fields:
- First Name and Last Name
- Email Address — This serves as the user's login credential.
- Role — Select Student, Instructor, or Admin.
- Optionally, fill in additional profile fields:
- Student ID — Your institution's internal identifier.
- Grade Level (students) — Used for reporting and promotion.
- Phone Number — For SMS notifications (optional).
- Gender — Optional demographic field.
- Click Create User. The account is immediately active, and the user can log in with the email and a password they set via the welcome email.
Bulk Importing via CSV
At the start of a school year, you may need to create hundreds of accounts. The import feature handles this efficiently.
Import Types
NimbusLearn supports three import modes, accessible from Admin → Import:
- Users Only — Import student, instructor, or admin accounts.
- Courses Only — Import courses and sections.
- All-in-One — Import users, courses, sections, and enrollments in a single CSV. This is ideal for initial school setup.
Import Steps
- Go to Admin → Import and select your import type.
- Configure import options:
- Email Pattern — Choose how student emails are generated if not provided: use provided emails, first.last@domain, or first_last@domain format.
- Email Domain — Set the domain for auto-generated emails (e.g., "yourschool.edu").
- Send Welcome Emails — Toggle whether imported users receive an email invitation to set their password.
- Download the CSV template for your chosen import type. Fill it in with your data following the column headers provided.
- Upload your CSV. NimbusLearn validates every row and shows a preview with:
- Valid rows — Ready to import.
- Rows with errors — Missing required fields, duplicate emails, etc.
- Warnings — Non-critical issues that won't block import.
- Duplicates — Rows that match existing records.
- Review the preview and click Import to process valid rows.
Managing User Accounts
After accounts are created, administrators can manage them from the Users page in the admin panel.
- Search and filter — Find users by name, email, or role. Filter by grade level.
- View user details — Click a user to see their profile, enrolled courses, grades, and attendance.
- Edit profile — Update any user's name, email, role, grade level, or phone number. Role changes take effect immediately.
- Deactivate/reactivate — Deactivating an account preserves the user's historical data (grades, submissions) while preventing them from logging in. You can reactivate at any time.
Tips for Organizing Users
- Use grade levels consistently — Assign every student a grade level during creation or import. This makes filtering and reporting significantly easier.
- Use the All-in-One import — If you're setting up a new school, the All-in-One CSV import creates users, courses, sections, and enrollments in a single step.
- Create a "Test Student" account — Set up a student account for yourself so you can preview exactly what your students see.
- Audit regularly — At the start of each term, review your user list and cross-reference with your school's official roster to catch any discrepancies.
What's Next?
With users onboarded, the next step is learning how to create assignments, manage student submissions, and use the gradebook — head to the Assignments & Submissions guide to continue.