Creating an Assignment
Assignments in NimbusLearn are the primary way you distribute work to students and collect their responses. Every assignment lives inside a course, so make sure you've navigated to the correct course before you begin.
- Open your course from the My Courses dashboard.
- Click the Assignments tab in the left sidebar.
- Click the + New Assignment button in the top-right corner.
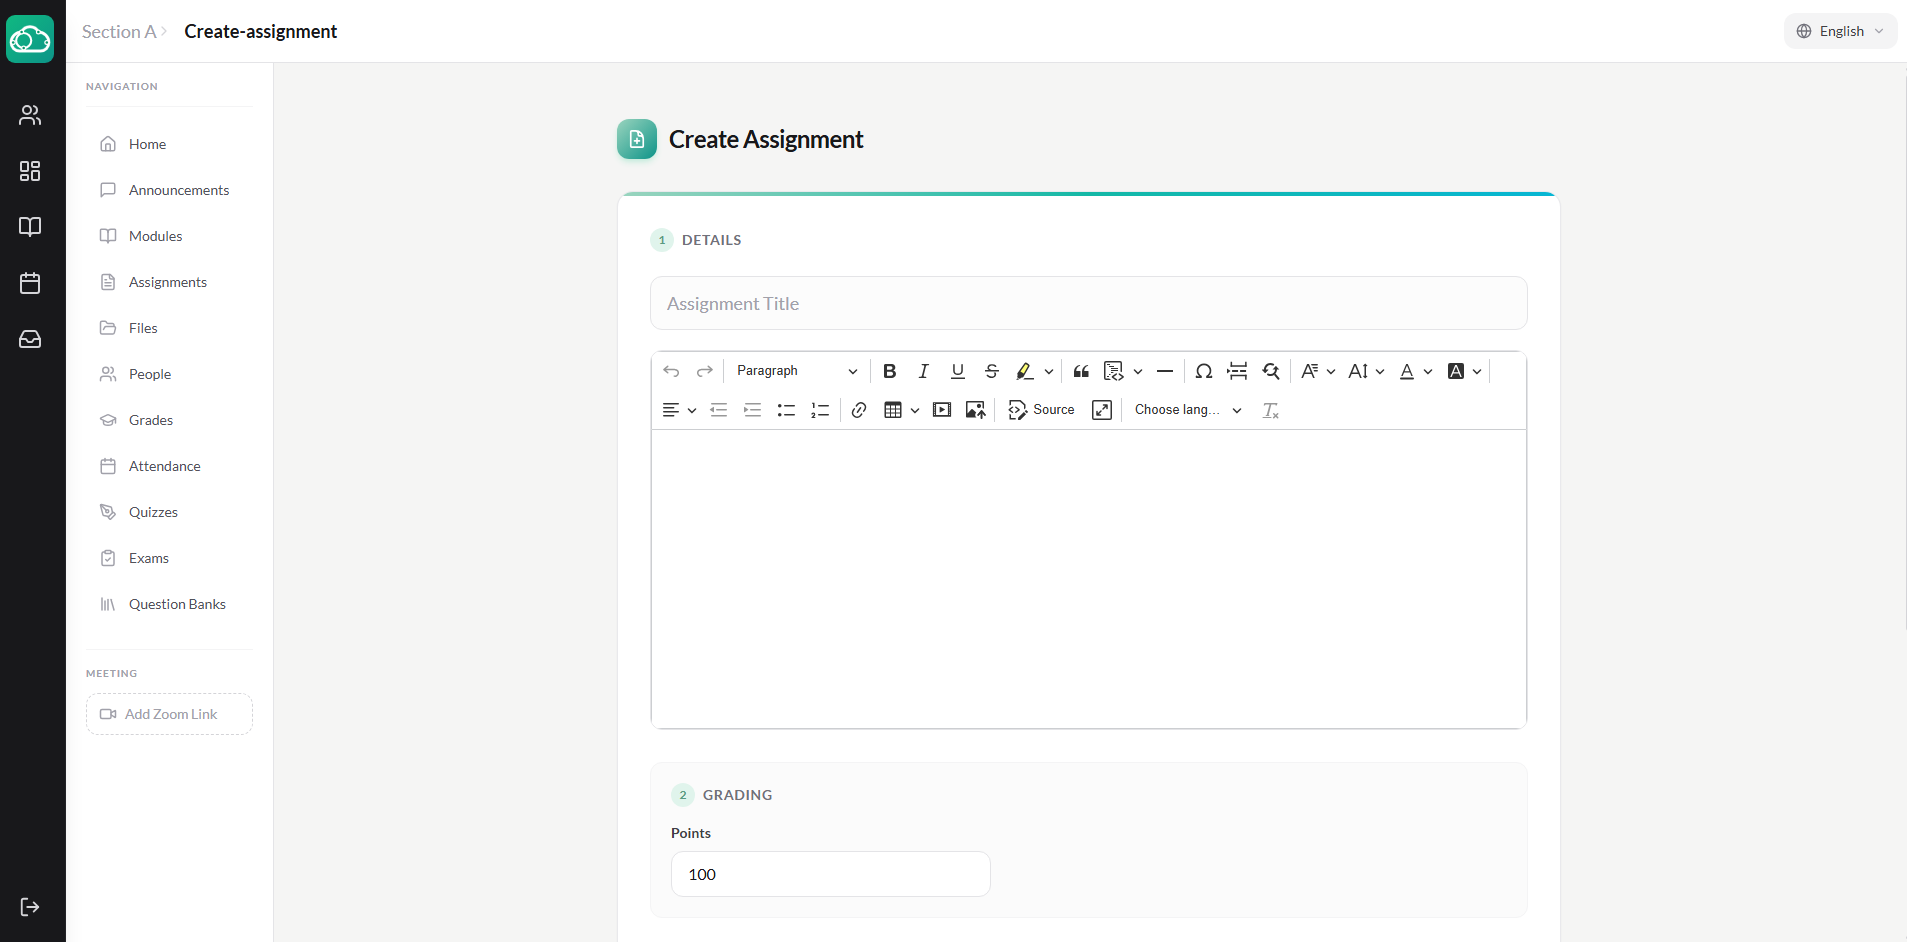
- Fill in the assignment details:
- Title — A clear, descriptive name (e.g., "Chapter 5 Reading Response").
- Description — Use the rich-text editor to write instructions. You can embed links, format text with headings and bullet points, and attach reference files.
- Points — The maximum score a student can earn. Enter
0for ungraded assignments. - Due Date & Time — Select a calendar date and set the exact time. Students see a countdown on their dashboard as the deadline approaches.
- Availability Window — Optionally set an Available From date (when the assignment becomes visible) and an Until date (when submissions close entirely).
- Click Save to create the assignment as a draft, or Save & Publish to make it immediately visible to students.
Draft assignments are only visible to instructors. Use drafts to prepare assignments ahead of time and publish them on a schedule.
Assignment Submission Types
When creating an assignment, you choose which submission types students can use. You can enable one or both:
File Upload
Students upload documents, images, PDFs, or other files directly from their device. This is the most common submission type for essays, lab reports, worksheets, and creative projects.
Text Entry
Students compose their response directly in NimbusLearn's built-in text editor. This works well for short essays, reflection journals, or any assignment where you want to read the response inline without downloading a file.
You can enable both submission types on a single assignment so students can choose whichever suits their work.
Viewing Student Submissions
Once students begin submitting work, you can monitor progress and review submissions from the assignment page.
- Navigate to the assignment and click the Submissions tab.
- You'll see a table listing every enrolled student, their submission status (Submitted, Not Submitted, Late, or Resubmitted), and the timestamp of their latest submission.
- Click a student's name to open their submission detail view, where you can read text entries inline or preview uploaded files.
The submission overview also shows aggregate stats at the top: total submitted, total pending, and average score (once grading begins). Use the Filter dropdown to narrow the list — for instance, show only late submissions or only ungraded work.
Providing Feedback & Comments
Meaningful feedback helps students grow. NimbusLearn provides several ways to comment on student work:
- Submission Comments — A threaded comment section on each submission where instructors and students can exchange feedback. Write a summary of the student's performance, note strengths, and suggest improvements.
- PDF Annotations — When viewing a PDF submission in SpeedGrader, you can annotate directly on the document. (See the SpeedGrader guide for details.)
After entering a grade and feedback, click Submit Grade. The grade is recorded in the gradebook.
Returning Graded Work
Grades and feedback stay hidden from students until you explicitly release them. This gives you time to grade an entire batch before anyone sees results.
- On the Submissions tab, select the students whose work you want to return (or use Select All).
- Click the Return Selected button.
- Confirm the action in the dialog. Students will receive a notification that their graded assignment is available.
Students can then view their score, read your comments, and (if you've enabled it) submit a revision.
Late Submission Policies
NimbusLearn lets you define what happens when students submit after the due date. Late policy settings are configured at two levels:
Per-Assignment Settings
- Allow Late Submissions — Toggle this on to allow submissions after the due date. When turned off, students cannot submit once the deadline passes.
- Late Penalty Per Day — Deduct a percentage of the total points for each day the submission is late. For example, set a 10% per-day penalty so a 100-point assignment submitted two days late has a maximum score of 80.
Section-Level Defaults
Each section can set default late policy settings that apply to all assignments within it:
- Late Penalty Enabled — Toggle whether late penalties apply by default.
- Late Penalty Per Day — The default per-day deduction percentage.
- Lowest Possible Grade — The minimum grade a student can receive after late deductions are applied (e.g., 50%). This prevents a single late assignment from completely zeroing out a student's grade.
Individual assignments can override the section's default late policy when needed. Instructors can also manually override late penalties on individual submissions via SpeedGrader.
Excluding Assignments from Final Grade
Some assignments are for practice or participation and shouldn't count toward the final grade. When creating or editing an assignment, toggle Exclude from Final Grade to remove it from grade calculations while still allowing students to submit and receive feedback.
Tips for Managing Assignments Effectively
- Use the Available From and Available Until dates to control exactly when students can see and submit assignments.
- Add assignments to Modules to keep them organized alongside related reading materials and resources.
- Use SpeedGrader to efficiently grade submissions one by one — including AI-assisted grading and plagiarism checking.
- Mark submissions as Excused for students who shouldn't be penalized for missing an assignment.