Inbox Overview
The NimbusLearn inbox is your central hub for all messages. Access it by clicking Inbox in the sidebar navigation. The inbox is available to all roles — students, instructors, and admins.
The inbox is organized into four folders:
- Inbox — All active conversations, sorted by most recent activity.
- Sent — Conversations you've initiated.
- Starred — Conversations you've flagged for quick access.
- Archived — Conversations you've archived to keep your inbox clean.
You can filter conversations by course using the course filter dropdown. Use the search bar to find conversations by keyword.
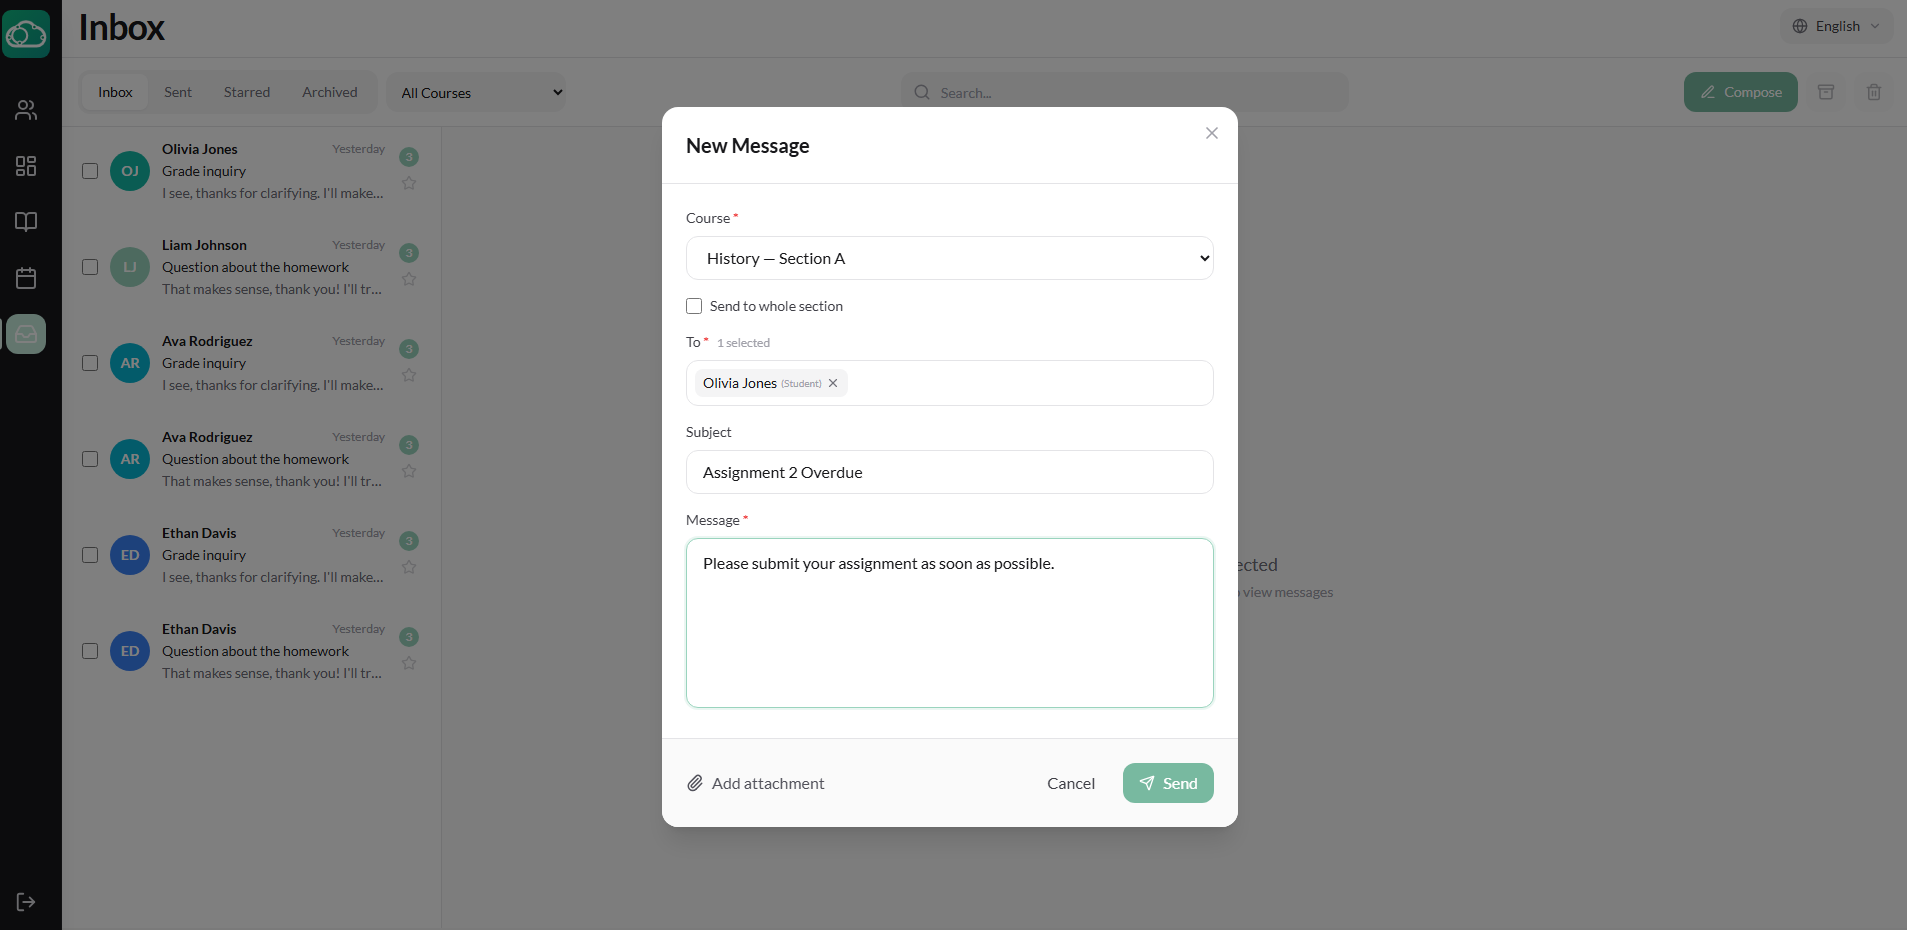
Composing a Message
Click the Compose button to start a new conversation.
- Select a course (optional) — this scopes the recipient list to participants in that section.
- Select recipients — search by name. Instructors can also select their entire section to message all enrolled students at once.
- Enter a subject for the conversation.
- Write your message in the body field.
- Optionally attach files by clicking the attachment button.
- Click Send.
Who you can message depends on your role:
- Students can message participants in their enrolled courses.
- Instructors can message students in their sections and other staff.
- Admins can search and message any user in the school.
Replying and Conversations
Click any conversation in your inbox to open the full message thread. You can reply with text and attachments. Conversations are threaded, so all messages between participants appear in chronological order.
Managing Conversations
Keep your inbox organized with these tools:
- Star — Flag important conversations for quick access via the Starred folder.
- Archive — Move resolved conversations to the Archived folder without deleting them.
- Delete — Permanently remove a conversation (with confirmation).
- Search — Find conversations by keyword using the search bar.
Course Announcements
Announcements are one-way broadcasts within a course section. All enrolled students see them, but unlike messages, announcements don't create a conversation thread.
- Navigate to your course section and click the Announcements tab.
- Click + New Announcement.
- Enter a title and compose the content.
- Click Publish. The announcement appears in the section and students are notified.
Students can mark announcements as read. The announcement tracks which students have read it.
Use announcements for class-wide updates like schedule changes, exam reminders, or resource links. Use direct messages for private, student-specific communication.
School-Wide Announcements
Administrators can create announcements that reach the entire school from the Admin → Announcements page.
- Click + New Announcement.
- Enter a title and content.
- Select the audience: All Users, Students Only, or Instructors Only.
- Click Publish.
School-wide announcements appear on the dashboard of every user in the selected audience.
Messaging Tips
Effective communication builds trust. A few best practices:
- Be concise — Clear, scannable messages are appreciated. Use bullet points for multiple items.
- Use announcements for broadcast, messages for dialogue — If you don't need a reply, post an announcement.
- Respond promptly — Even a brief acknowledgment sets expectations and shows attentiveness.
- Keep it professional — Messages are part of the school record. Maintain a respectful, professional tone.